Thursday, July 11, 2013

Rolling Hills Landscapes


We have just returned from vacation; high in the Sierra Nevada mountains that span the length of the California/Nevada border. Here's a little view of Twin Lakes. Yes, believe it or not, that is a glacier highlighted by the sun. Needless to say the water in the lake, as well as Robinson Creek which flows down from the Lakes, is very, very cold. Fabulous place to be on a hot summer day!


Have you ever been on a drive, where you crest over a hill to a vista of rolling hills? Each layer of hills is a different color. Or, a different shade of the same color, getting lighter and lighter as each layer reaches out to the horizon.


That has been the inspiration for my series of Rolling Hills Landscapes. This is Number 6 in the series; this one for a dear friend's birthday. It takes only 2 hours to cut and piece the gentle curves, and I really only began the series so that I would have lovely spaces to put tiny quilted fill patterns. The whole piece is only 24 x 30 inches. I think you can see that I am not finished with the binding.


You only need to lay out a few fat quarters, darkest at the bottom and the lightest at the top. I like about 11 or 12 pieces. Cutting is done free hand, two layers at a time, with the rotary cutter, and the curves are gentle enough for easy piecing.


Here is the first piece in the series; a landscape at sunset. The little circle “sun” just appeared in the hand-dyed fabric that I used for sky. A happy accident that I played up by stitching.


                          “Feed your faith and your fears will starve to death.”

                                                                                              Anon.

Saturday, June 22, 2013

Carol's Legacy


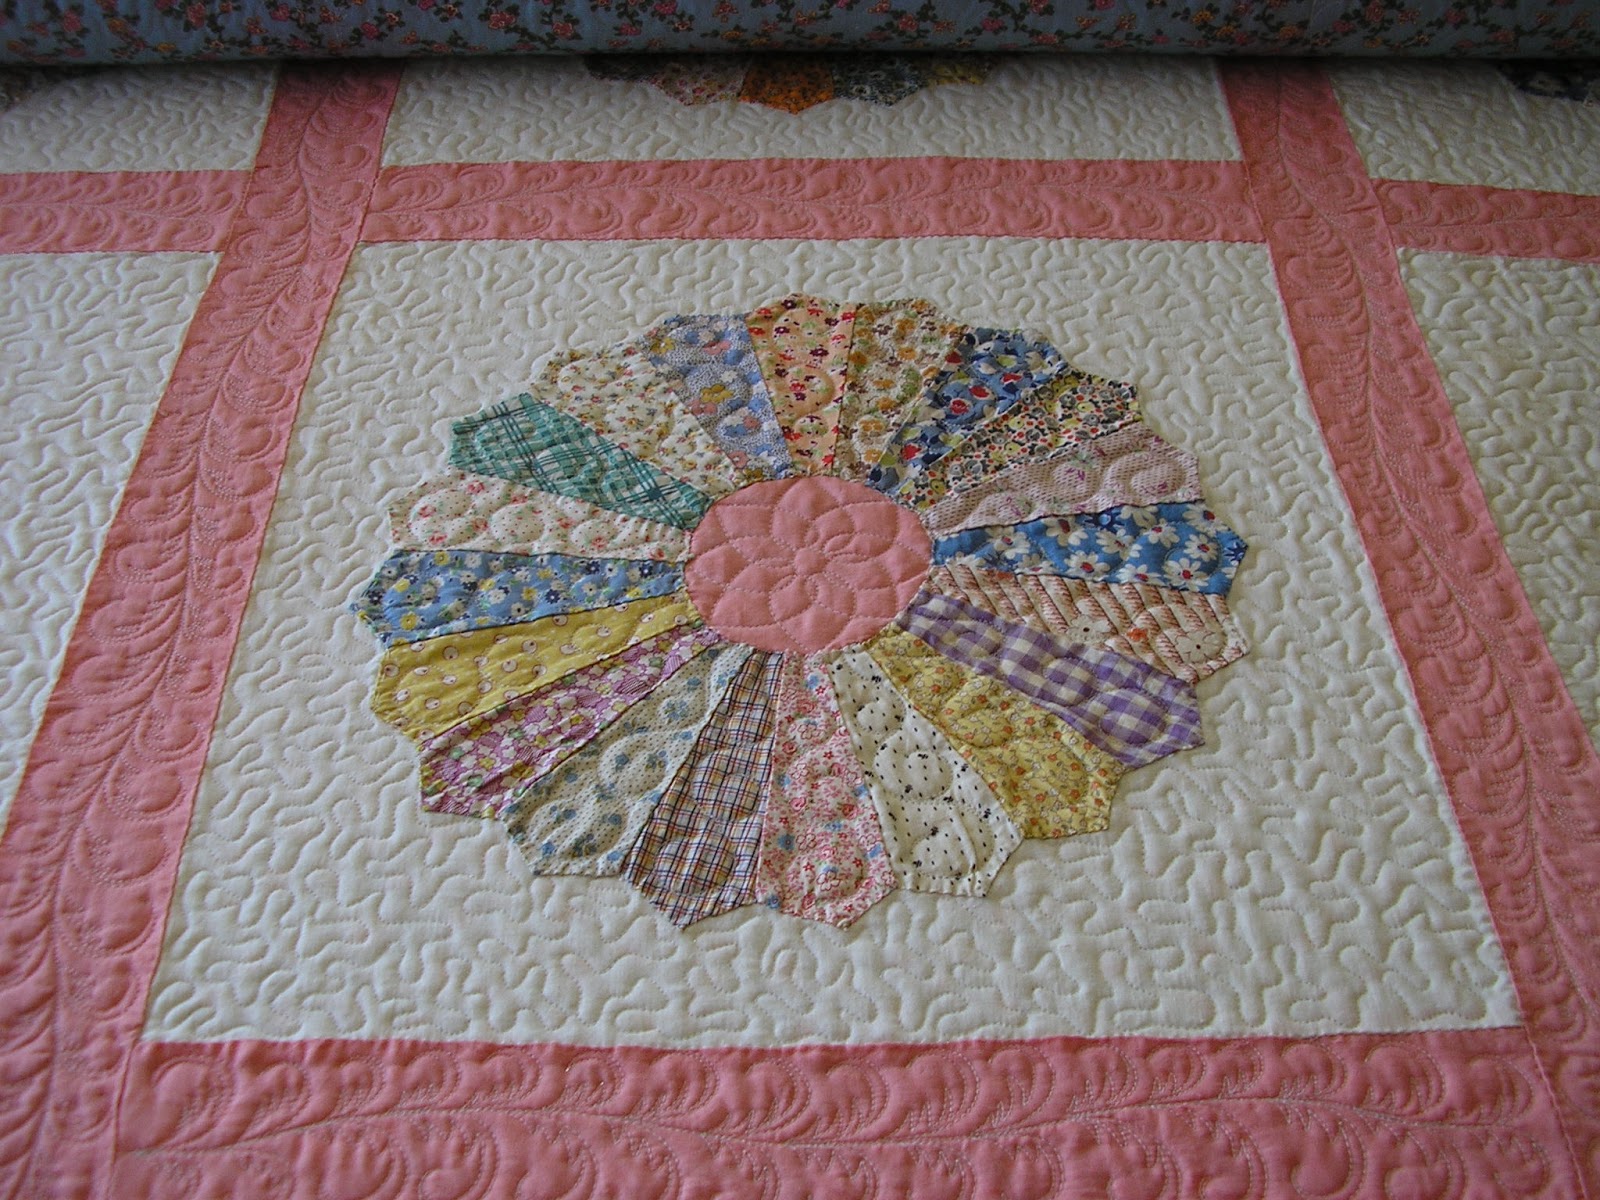
I've already mentioned that I LOVE vintage quilt tops. Working on them gives me a strong connection with the original piecer/applique artist that created them. Unable to finish them, they are often stashed away for later generations to find. What a joy it is to finish them.


This one is unique in that the Flying Geese are appliqued rather than pieced – I have not seen that before. It is completely hand stitched, even the sashing, and in relatively good condition. I had to reinforce the stitching on the outer border miters; one was only basted.


In fact, basting stitches were everywhere. You know how we longarm quilters are always picking at stray stitches on a top as we work on it. But, I discovered early on to be careful when removing stitches on this piece. In many cases, the basting stitches were the only stitches holding a pattern piece in place. So, I pretty much left them in place and picked only the loose threads.


Some people feel that vintage tops should be quilted as closely as can be to the way they would have been quilted when they were made. This is not as easy as it sounds. Depending upon their decade, old quilt tops were either quilted quite openly or very densely. Hand quilting patterns included recognizable motifs (including stars, flowers and pineapples), backgrounds filled with crosshatching and borders with cables and feathers.


But, why stick to that? Obviously, the future is being laid into this quilt by virtue of the fact that it is being quilted with a modern machine in the 21st century. So, why can't the designs have a more modern look as well? Curling feathers with an edgy feel and modern stippling feel just right on this piece.


The important thing is to get it quilted so that it can get itself out of a closet and onto a bed or quilt rack to be admired and appreciated.


“If you can't be a highway then be just a trail. If you can't be a sun, be a star. It isn't by size that you win or you fail. Be the best of whatever you are.”

                                                                                 Douglas Malloch

Tuesday, June 11, 2013

Antique Linen Wholecloth - In Progress

I am sooooo happy with how this is progressing.

As I've told you before, I scored this 48 inch square (well, I found out it is not really square - that's how handmade items are, you know!) hand embroidered cutwork linen tablecloth for just $3. I placed it on a textured piece of cloth (don't know what it is; found it at Joanns and just liked the texture.)


Then I started to lay out designs on paper. I transferred them with my light table. Loaded the background fabric and started quilting. I'm running the feathers off the edge of the tablecloth and out into the border space.


Of course, I stabilized the whole piece by quilting around the hand embroidered designs and they look really better that way. And, I'm now able to take the piece on and off the frame. Yeah, I've got to spend some time on customer projects now and again! LOL!


I've always resisted designs with a lot of backtracking. I do not have a stitch regulator and that means I must backtrack at the same speed as I placed the original line. Ugh! That is hard. But, let's face it. In 9 years of longarming, I've NEVER had a stitch regular, so, I put on Big Girl Panties and went with it!


Now, on to a few customer pieces and this will have to wait awhile. But, it has been soooo much fun!


Saturday, June 1, 2013

I used to be afraid of Sampler Quilts


Really! How do you custom quilt something that is essentially different in each block?


This amazing quilt tells you how proficient the maker is at choosing colors. And, of course, setting them against the dark blue just makes everything Pop!


Anyway, how do you quilt a sampler quilt? My plan has been to pick two motifs or designs and then morph them to fit into the spaces. That way, you have provided continuity from block to block. And, you don't have to come up with multiple designs, which could become very distracting.


As you can see I picked a simple feather shape, and a spiral. Then, carried them into all the different spikey shapes of the stars.


To further the continuity, I filled the background with feathered curls.


I can't for the life of me pick my favorite block. They are all so pretty. Just when I think I know my fave, another calls my name.


This quilt was made by my “I'm not a quilter” friend. I posted her NY Beauty before. I really love it!


Saturday, May 25, 2013

I scored!


I found this 48 inch square, hand-embroidered cutwork linen tablecloth at the local thrift store...wait for it...for only $3! A friend who deals in antique linens said it could be 100 years old. There was only one yellow spot I could not get out, but that's not too bad for its age.


My plan is to place it on top of a luscious cream-colored satin and then feather the heck out of it! I've been doodling the feathers to fit around the cutwork, represented by straight black lines.


Then, I decided to try out the doodles by quilting a sample. This, on another old piece of satin, is the doodle that will fit into the center square of the tablecloth. I tried two different kinds of lighting to highlight the effect of the satin fabric.


I like it so much, I added the binding and will place it into our community quilt show next month, as a small wholecloth...all on its own!


I just have to design the feathers for the outer edge of the tablecloth. Not sure yet how I want to do that. There is a very definite edge treatment to the tablecloth, so my original idea of having feathers run off the edge onto the satin won't work. Stay tuned!


I know I've said it before, but I really LOVE quilting on satin. Must go to Joanns to pick up more!