Monday, October 27, 2014

Anyone love vintage tops?


I love vintage quilt tops, even when they are somewhat wonky. Sometimes their seams don't match and they will not lay flat for anything! They pose their own problems when considering the quilting plan.


Firstly, they tend to be fragile. This one has muslin you can almost read a book through! So I always do a full float on vintage tops. That is, I do not attach the top to any leaders. I load the back and backing and then lay down the top, smoothing it out and basting the edges down. That way, the top gets no undue pressure from stretching.


And often the individual blocks act independently. That yellow plaid butterfly appears to be lifting off the quilt. Luckily, tops of this era were traditionally quilted in loose, open designs. The meandering loops work perfectly here to ease in the fullness of the block. (Besides, I think it looks like the dizzying flight path of a butterfly.)


And now, here's that yellow butterfly all settled down and resting on the quilt top.


Speaking of vintage, look at some of these classic fabrics!

Don't be afraid to take a big step if one is indicated.
You can't cross a chasm in two small jumps.

David Lloyd George

Saturday, September 20, 2014

The Pink Square


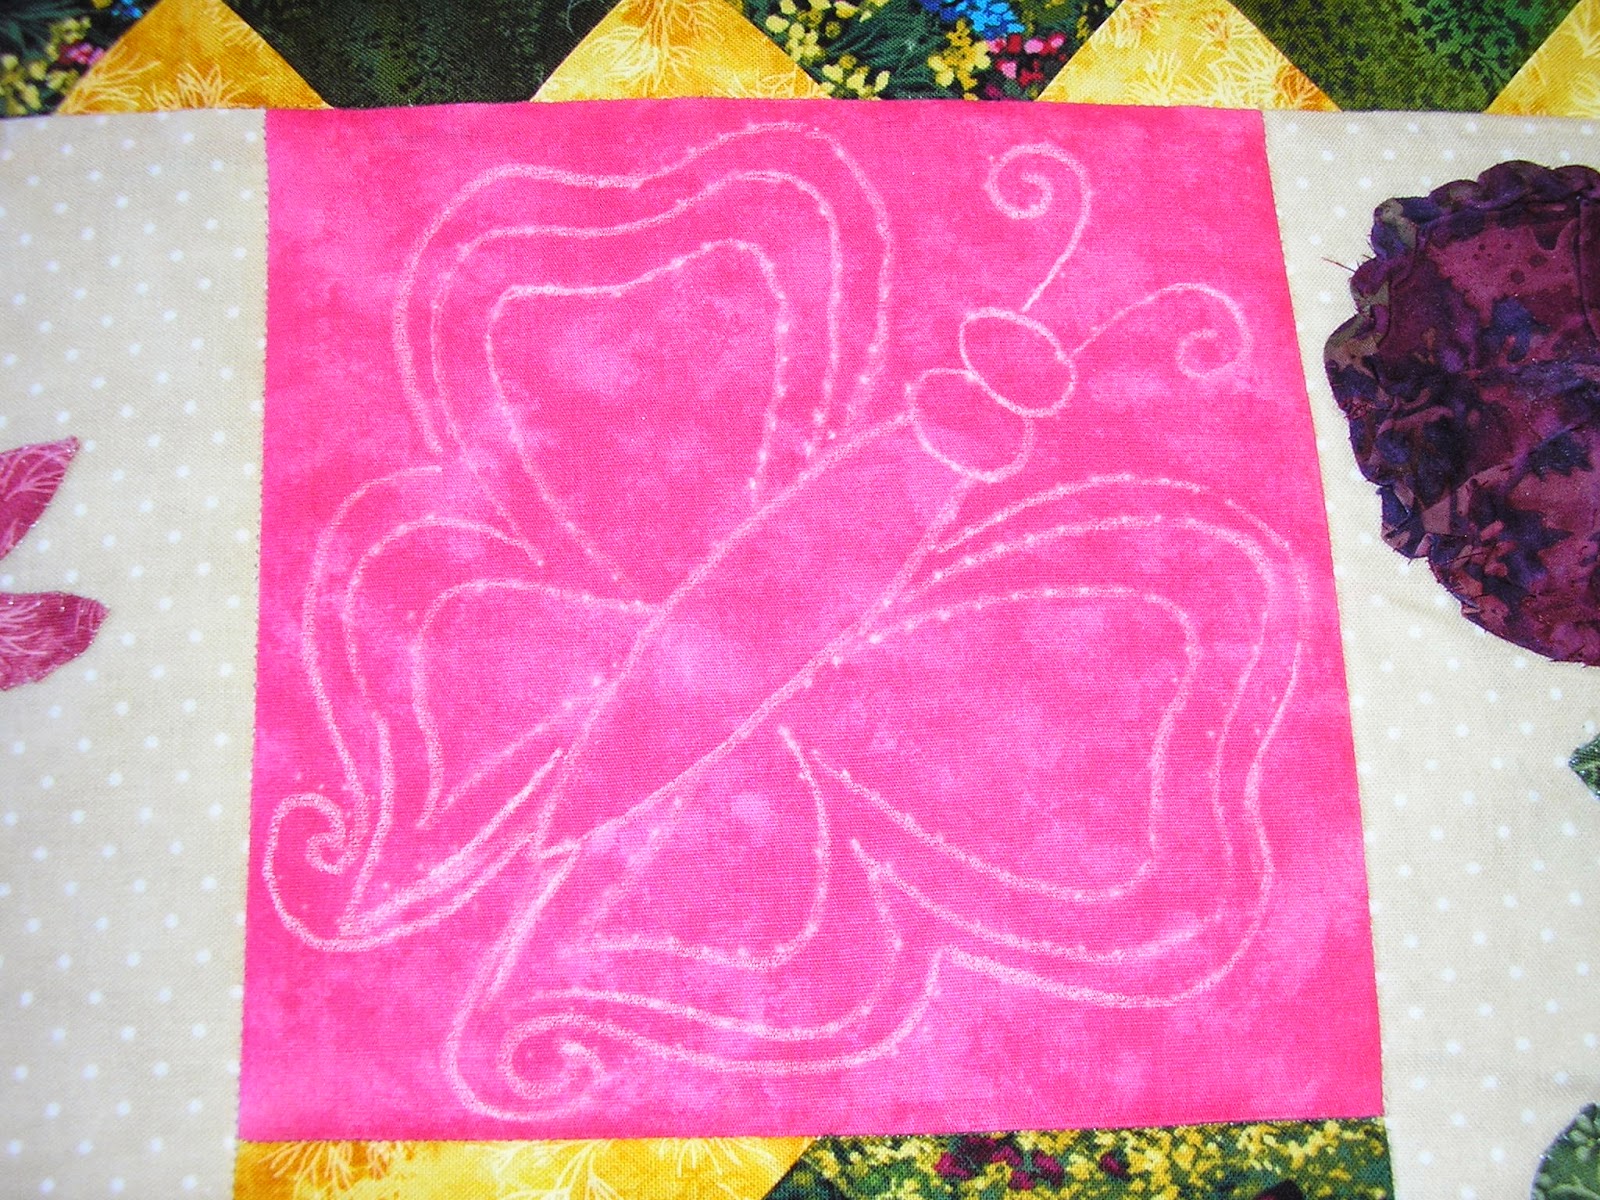
The focus of this quilt comes right off the focus fabric – colorful butterflies. Between pieced and appliqued blocks are bright patches of prints...and one pink square. The maker of this piece asked me to quilt a butterfly into that 6 inch pink square.


Okay, so how do we do that? I started out with a sketch I made, inspired by one in Judi Madsen's book “Quilting Wide Open Spaces.” Then, I traced it onto vellum paper. The paper is slightly transparent, so I only drew one-half of the butterfly, and then flipped the vellum to trace the other half. Whee! Instant symmetry!


Then I go to my DSM, and remove the thread and the bobbin. I set my machine for a rather long stitch length, because the design is relatively simple. More detail would require a short stitch length. Now, stitch through the paper on all the lines. When you are ready to use this as a stencil, make sure to turn the vellum over. Now, the little “bursts” from the needle holes are on the top, and they will “tickle” the chalk dust out of the Pounce Pad.

By the way, you do not “pounce” a Pounce Pad. Rather, you brush the pad across the stencil. How many times you need to brush over the stencil will depend upon how well you can see the dots. This pink fabric should take minimal brushing.


Oh, but the pattern did not show well in the photo, so I took my trusty school chalk and played Dot-to-Dot! Now, I have something that is super easy to remove with a moist scrap of fabric, and super easy to see.


Thursday, August 21, 2014

He's a Humdinger!


This piece is a different Toni Whitney design than I have quilted before. Up until now, it has all been animals with fur; Elk, Bear, Wolf. I have a dog and her fur shows me how the stitches should lie around the eyes, face and body to simulate fur growth.


But, this is my first bird, and he is a stunner! The colors just ring with life!

So, the first thing I did was go to my trusted Google image search and typed in hummingbirds. Wow, a plethora of pretty birds! A closeup of a hummer's head gave me the look of the feathers as they go over the bird's forehead. I was pretty sure I could create the look of real feathers on the wings and tail.


Then, another search for flower closeups. I wanted to see how the flower's veining looked. Sigh, what did I ever do before Google search?!!!


And, of course, the background fill just had to be...wait for it...feathers!


Believe in yourself and all that you are.
Know that there is something inside you

that is greater than any obstacle.

Tuesday, July 29, 2014

Mrs. Lincoln's Sampler


What a beautiful piece! But, believe me, it was a challenge! Those blocks are 5 inches square exactly. There are 49 of them, alternating applique blocks with pieced blocks. And, most of the pieced versions are made up of lots of one-inch half square triangles! This must have taken a long time to accomplish.


Obviously, the tiny spaces in the backgrounds of the applique blocks had to be filled with a small, simple version of McTavishing. But, what about all those one-inch half square triangles?


I finally decided, after lots of sketching on top of printed photos of the blocks, to quilt down the background fabrics to let the colored fabrics pop up, just like they do in the applique blocks. I only quilted on the colored fabrics when the pieces were large and required it.


I used a combination of ribbon candy, Kim's loopy thang (no misspelling, that's what she calls it!), and occasionally a four- or 8- petal flower. I kept continuity by using ribbon candy in the border, matching the thread color.


Forget all the reasons why it won't work

and believe the one reason why it will!

Thursday, June 26, 2014

The Applique Quilt


I find the most difficult piece to determine a quilt plan for is the applique quilt. First of all, I've never been good at the outline stitch that everyone thinks must surround each and every applique piece. Actually, very few quilters are good at it. In my humble opinion, you should never see this stitch. You should only see the effect of this stitch. That is, the outline stitch should cause the applique piece to appear to rise up and sit atop the quilt.

Too often I see quilts where the outline stitch has occasionally crept up onto the applique fabric. This is not a good look, and if it were me, I would have to stop, pick it out and stitch it again. Wow, that's not your average picking job either, because the stitches are usually very tiny.

So, I always suggest filling the background with a dense fill that comes up close to the applique pieces instead of outlining. But, what kind of dense fill? McTavishing (with it's many variations) is an awesome choice. You can sweep it's many tendrils into the space between the applique for a very good look.

But, what else will work? Let's look at a few other fills.


This continuous curl works well on this House and Fruit Tree quilt, don't you think? The background areas are not too tight to fit the curls in. However, some applique quilts have very tiny background spaces, and this might not work for them.

If you look at this design closely, you will see the secret to it. It is not just one curl after another, that would look too static. Instead, it curls off in one direction, backtracks and then goes off in another direction. That keeps the design dancing!

Perfect backtracking is not necessary for this design, and that actually adds to the happiness of its design.


This is the clam shell version of McTavishing. It worked very well to get into tiny little spaces.


Of course, pebbles can do a good job filling areas and I like it with the stipple to set a space apart.


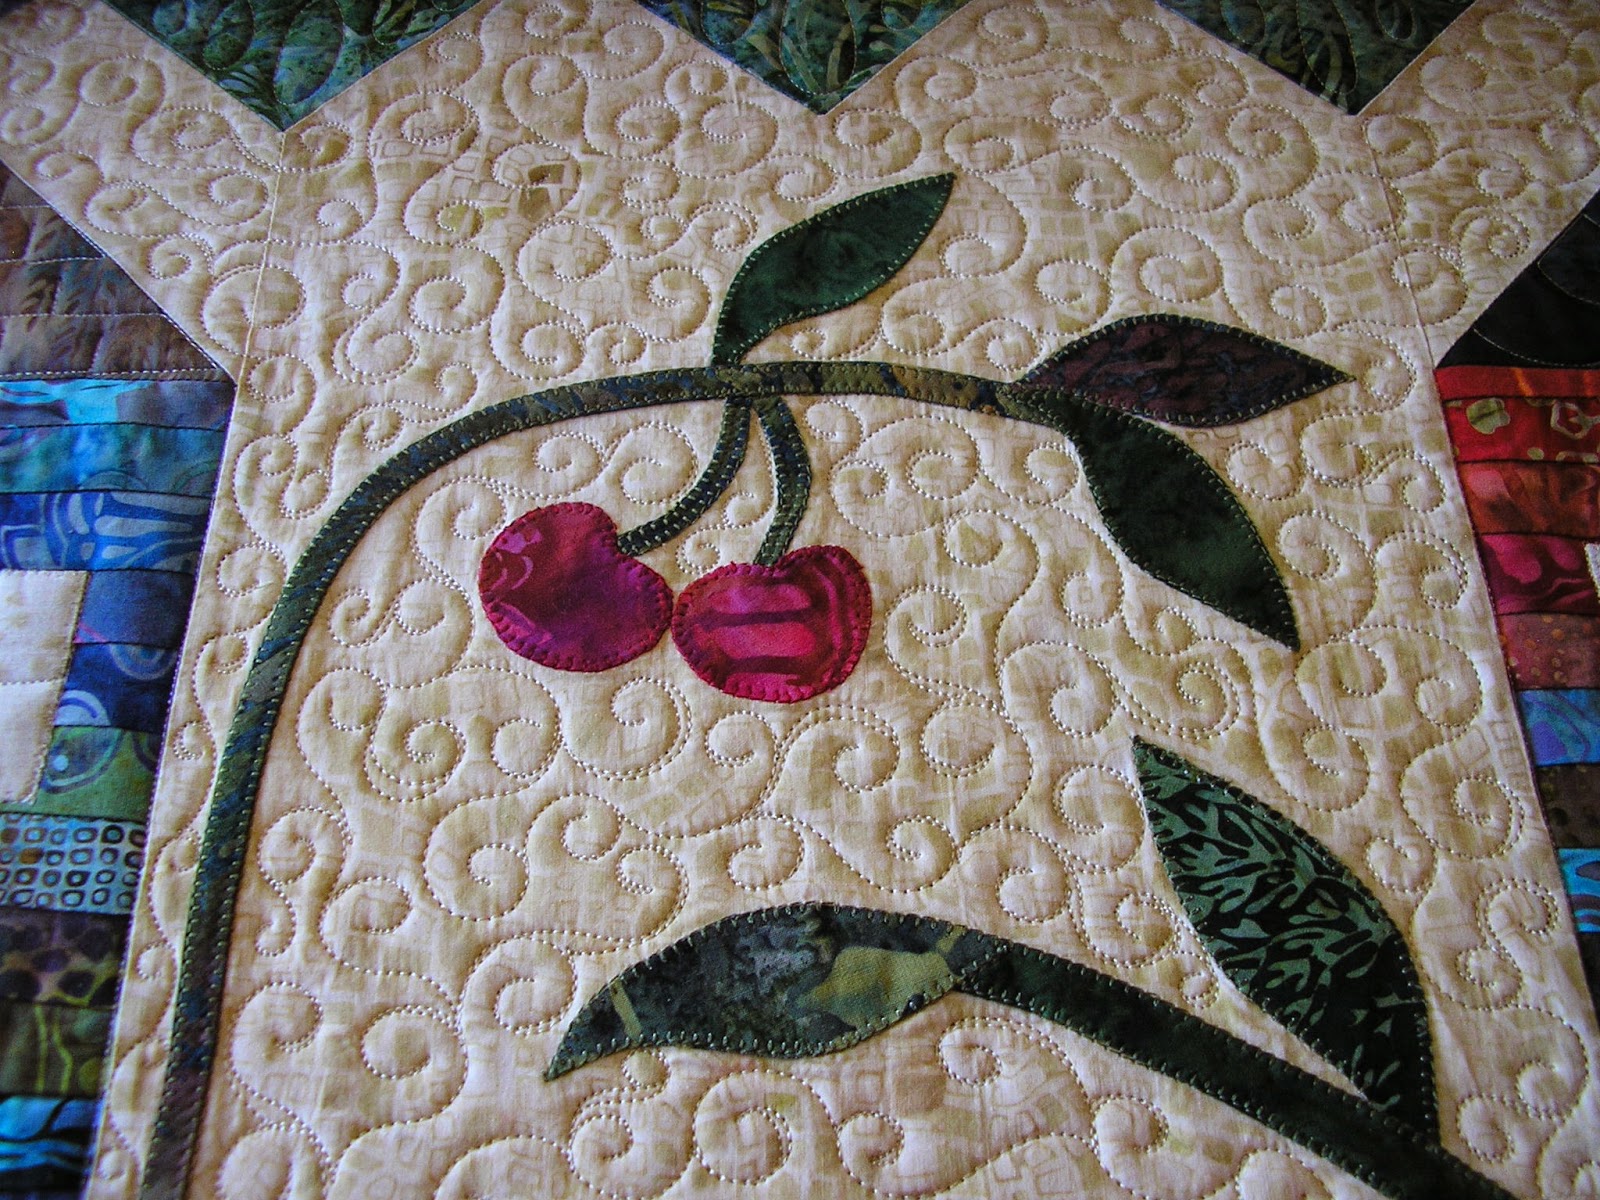
This is called Swirl Doodle Fill (I think it was designed by Karen Marchetti...?) and I love it! The soft S shapes can fill in the teeniest spaces. And, it is fairly quick to do. So, go out there and try a new fill pattern!!!

“I've learned that people will forget what you said, people will forget what you did, but people will never forget how you made them feel.”
                                                                               Maya Angelou