The focus of this quilt
comes right off the focus fabric – colorful butterflies. Between
pieced and appliqued blocks are bright patches of prints...and one
pink square. The maker of this piece asked me to quilt a butterfly
into that 6 inch pink square.

Okay, so how do we do
that? I started out with a sketch I made, inspired by one in Judi
Madsen's book “Quilting Wide Open Spaces.” Then, I traced it onto
vellum paper. The paper is slightly transparent, so I only drew
one-half of the butterfly, and then flipped the vellum to trace the
other half. Whee! Instant symmetry!

Then I go to my DSM, and
remove the thread and the bobbin. I set my machine for a rather long
stitch length, because the design is relatively simple. More detail
would require a short stitch length. Now, stitch through the paper on
all the lines. When you are ready to use this as a stencil, make sure
to turn the vellum over. Now, the little “bursts” from the needle
holes are on the top, and they will “tickle” the chalk dust out
of the Pounce Pad.
By the way, you do not
“pounce” a Pounce Pad. Rather, you brush the pad across
the stencil. How many times you need to brush over the stencil will
depend upon how well you can see the dots. This pink fabric should
take minimal brushing.
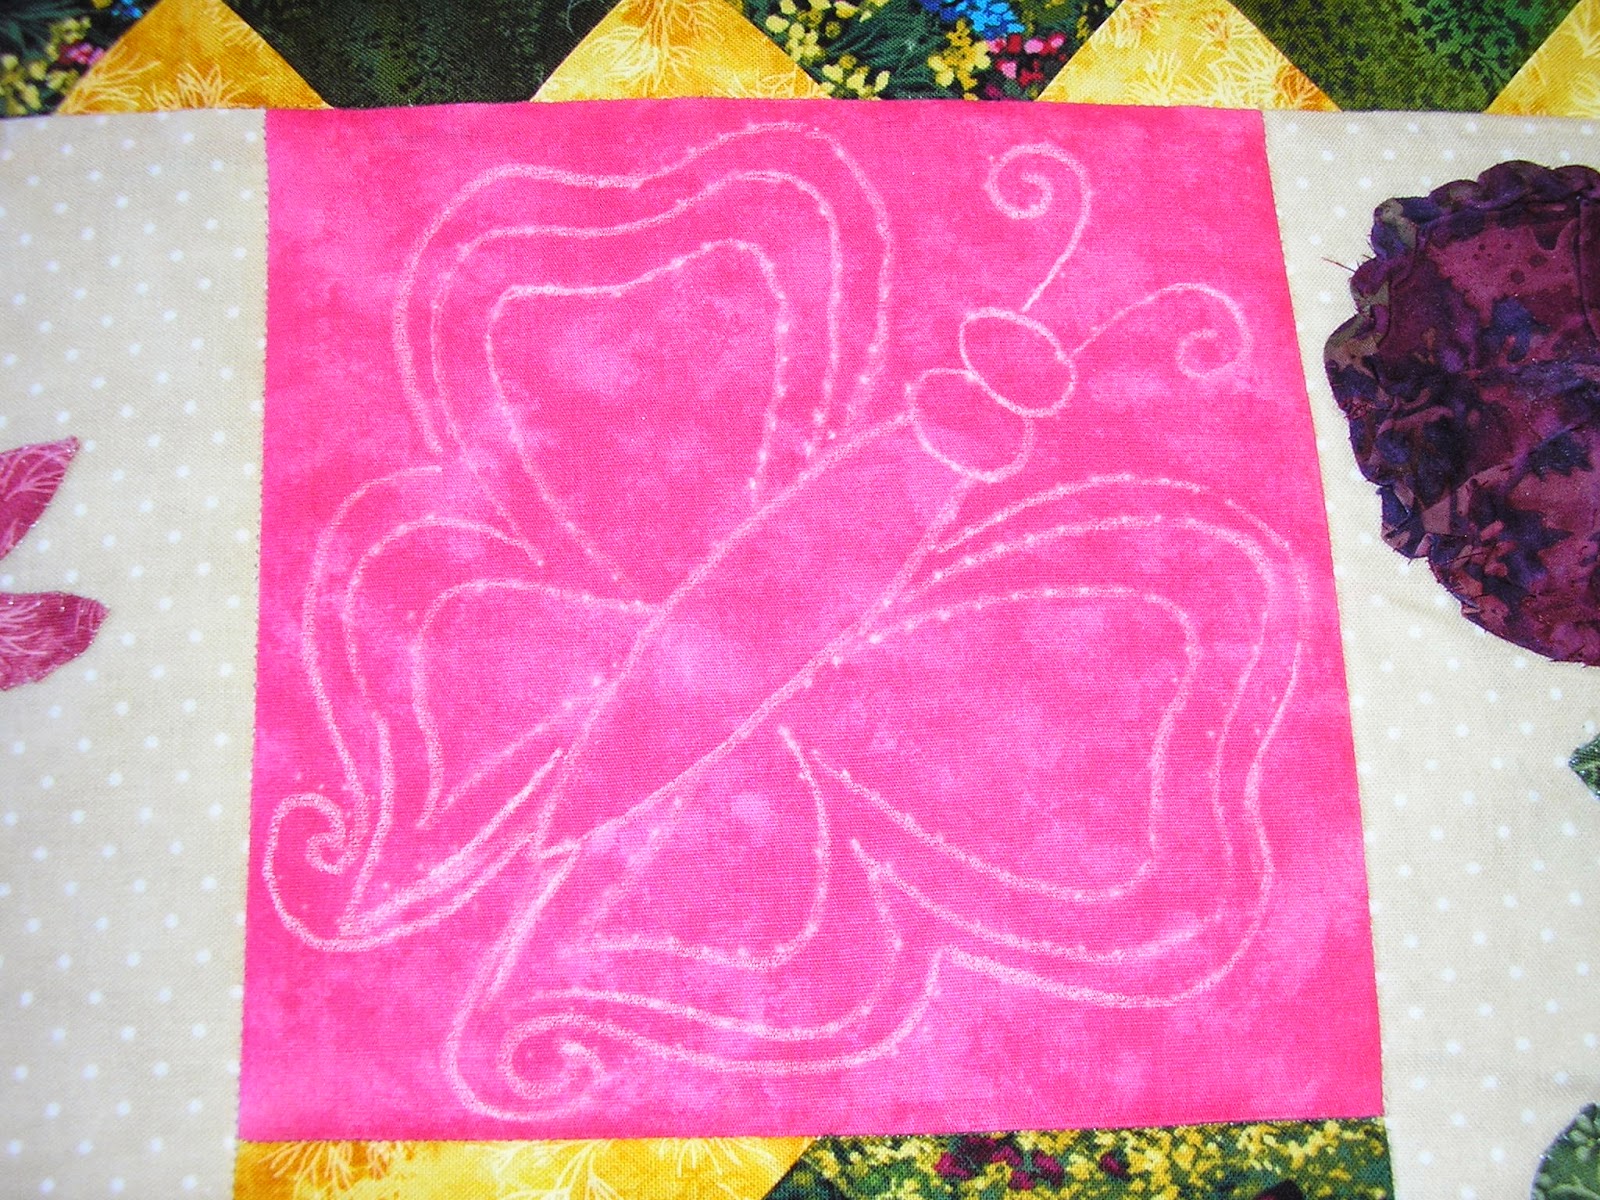
Oh, but the pattern did
not show well in the photo, so I took my trusty school chalk and
played Dot-to-Dot! Now, I have something that is super easy to remove
with a moist scrap of fabric, and super easy to see.
