Choosing the right color
of quilting thread can be especially hard when the quilt fabrics have
strong contrast, like this blue and yellow Log Cabin (one of my
favorite color combinations; blue and yellow. The other is pink and
green). What will look good on the blue may quite possibly look awful
on the yellow.
After I decide what the
quilting plan will be for a quilt, I next dig into the thread
drawers. Having the quilting plan determined first is very important,
because what thread might work for an overall edge-to-edge design may
not work for custom designs. And, of course, with custom quilting,
you may want to change thread colors as you go.
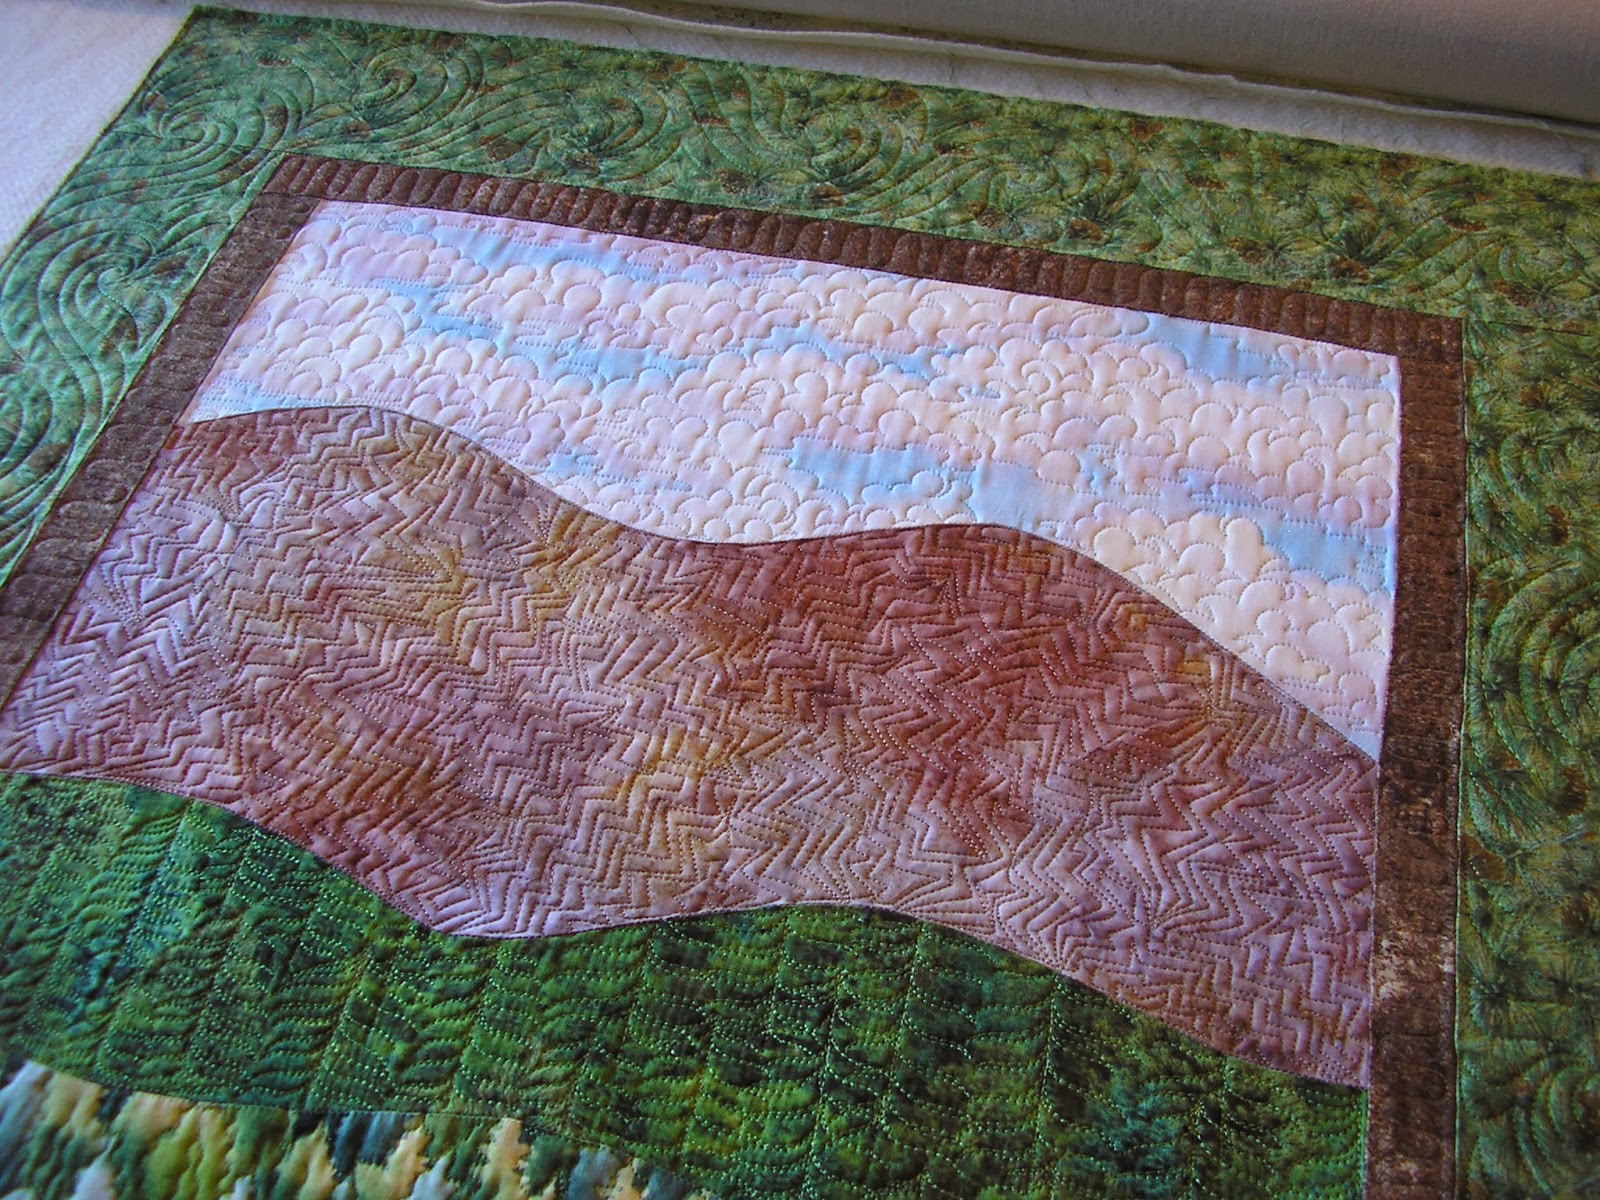
In this case, the yellow
path was to have an unstructured feather and the blue path a
wandering vine. And, the big blue border to have a delightful
combination of both.
So, taking out all the
colors that might work, I throw hanks of thread onto the quilt
surface. I always try to throw out something that, at first thought,
I am sure will not work, because once the thread is on the
quilt surface, sometimes magic happens. On this quilt I chose a
medium gray, a dark golden yellow and a lovely reddish brown. I
didn't think I wanted any blue, as it would have to be a pretty dark
blue and I subscribe to the idea that a light thread looks much
better on dark fabrics than a dark thread looks on light fabrics.
(Although I'm not that crazy about how this thread looks on the pale,
pale backing. Oh, well.)
The yellow was tossed out
first, and the gray was a serious consideration. But the reddish
brown was just perfect, especially given the dark red accents in this
quilt. I knew the thread wouldn't show on the red inner border, but
that's alright. When the thread is going to get lost anyway, it's a
perfect time to try out a new, maybe more difficult design. In this
case, I tried a Swirl Ribbon Candy design I saw on Kim Stotsenberg's
blog.
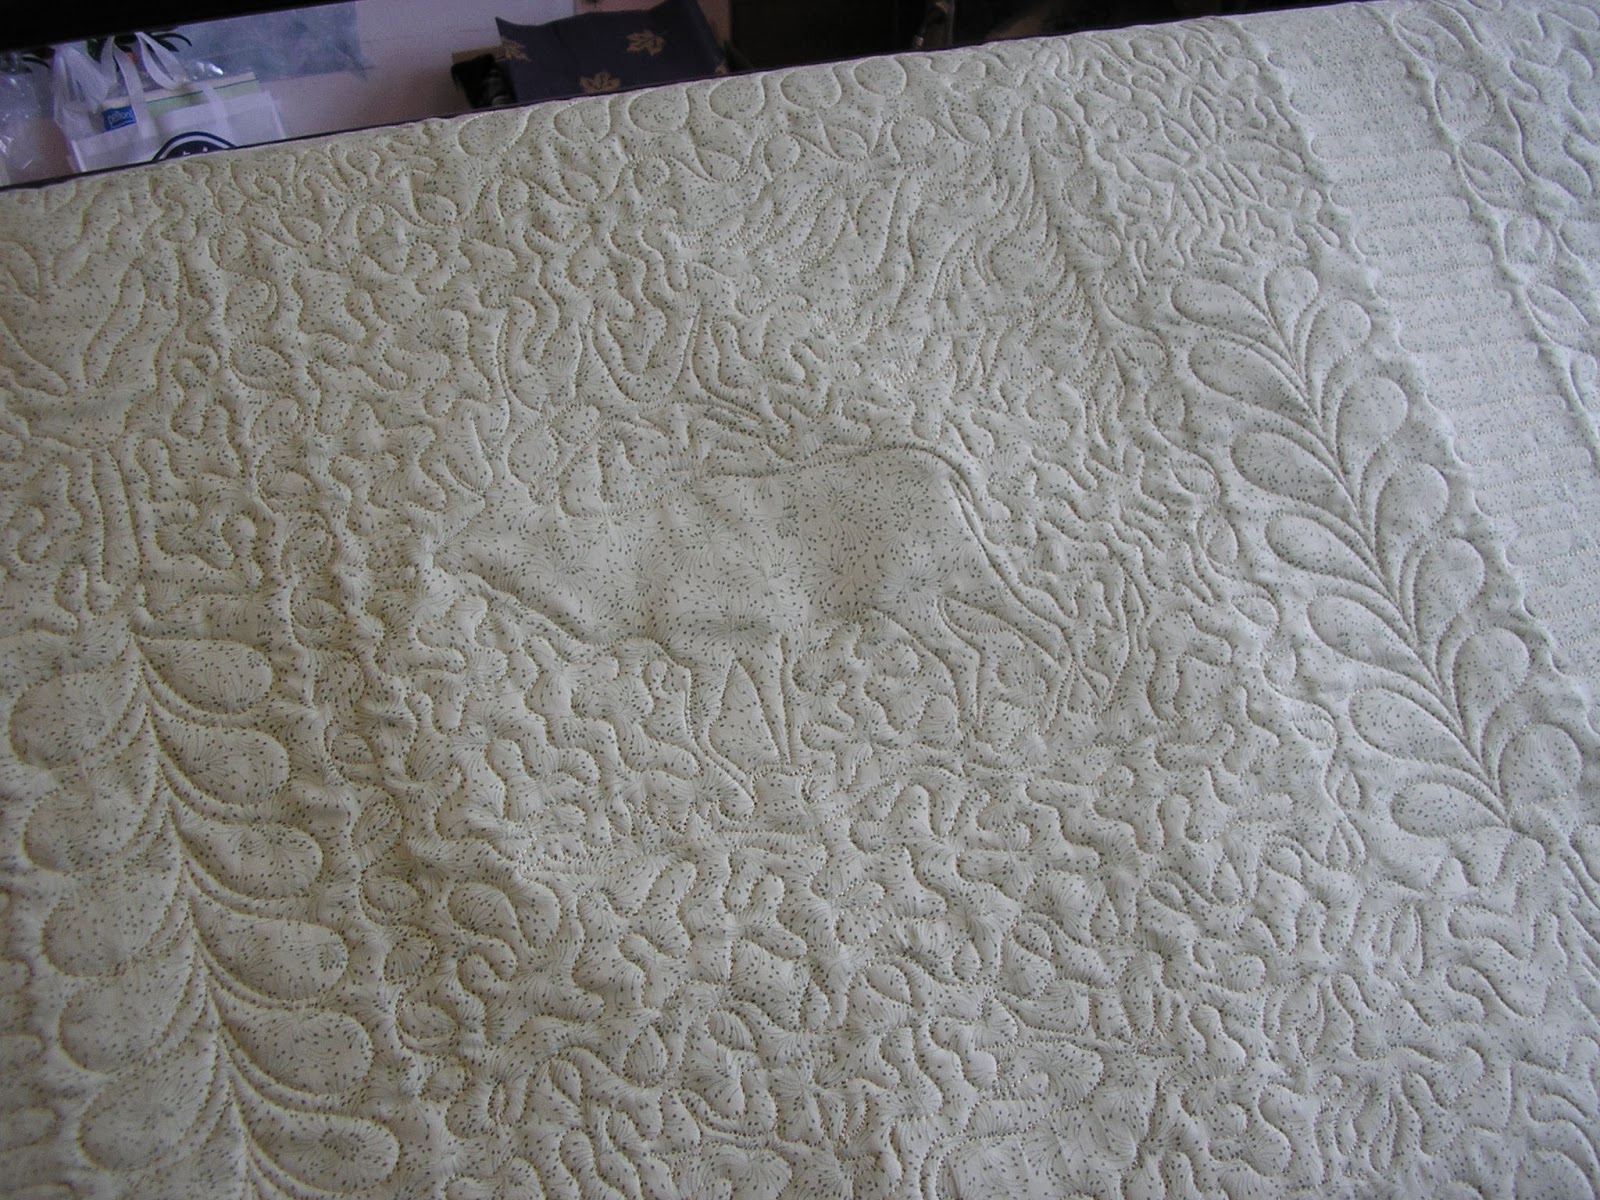
The following is a
step-by-step showing how I tamed that wavy lower border.
Before.
After a little steam and
basting.
Then, the vine goes down.
Then the design is
finished. It worked!
“Live by what you
believe so fully
that your life
blossoms.”
Anon.